Battle of Jutland - How it unfolded


After nearly two years of war, there had been no decisive battle between the two major naval rivals, Britain and Germany.
German commander Admiral Reinhard Scheer was eager to change that and came up with a strategy to defeat the British.
Advertisement
Hide AdAdvertisement
Hide AdAt the core of his plan was his intention to divide the numerically superior British fleet and destroy part of it – the Battlecruiser Fleet (BCF).
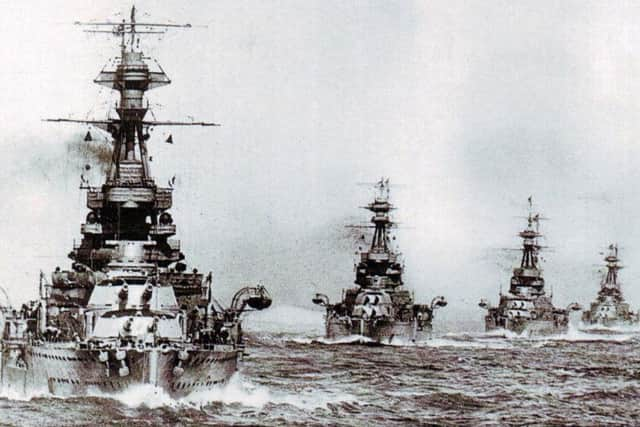
The BCF was based at Rosyth and was commanded by Vice Admiral Sir David Beatty. Scheer sent a scouting force of German battle cruisers, led by Vice Admiral Franz Hipper, to lure Beatty’s ships out into the North Sea.
While the battle cruisers exchanged fire, the rest of the German fleet rapidly approached. Scheer hoped that Beatty’s force could be destroyed before the rest of the British fleet arrived to support it. His plan almost worked.
On May 30 1916, British naval intelligence warned that the Germans were planning an operation in the North Sea the following day.
Advertisement
Hide AdAdvertisement
Hide AdThe British fleet, led by Admiral Sir John Jellicoe, was ordered to sea by the Admiralty. Vice Admiral Sir David Beatty’s force formed the vanguard and came into contact with the German battle cruisers, led by Vice Admiral Franz Hipper, at just before 4 pm on 31 May.
The British had more firepower but they suffered from poor visibility, while the Germans were more accurate in their firing. Beatty’s battle cruisers sustained more direct hits than their German counterparts, leading him to exclaim, “There seems to be something wrong with our bloody ships today”.
Two early losses were HMS Queen Mary and HMS Indefatigable, which were sunk at around 4 pm.
When the German High Seas Fleet arrived in support of Hipper, Beatty realised he was outnumbered and ordered his force to turn away.
Advertisement
Hide AdAdvertisement
Hide AdThe Germans pursued him and he led them straight into the path of Jellicoe and the entire British Grand Fleet.
Jellicoe’s battle cruisers now joined and the British managed to ‘cross the T’. This was the naval term for a manoeuvre which essentially meant the British had a firing advantage over the Germans.
Scheer now decided to turn away and the German fleet managed to escape the British guns.
Jellicoe ordered the British to bear south and soon came into contact with the Germans, again managing to ‘cross the T’. But Scheer evaded the British once more and the German fleet disappeared into the mist, firing off torpedoes at its pursuers.
Advertisement
Hide AdAdvertisement
Hide AdJellicoe followed his pre-battle plans for such a situation and turned away to avoid the torpedoes. By the time he could turn back and pursue the Germans, they had
effectively escaped.
Jellicoe has been criticised for the outcome of the Battle of Jutland.
It was felt that he was too cautious in his dealing with the Germans and should have taken a more aggressive approach.
His defenders, however, note the significant risk of losing the fleet – a vital aspect of Britain’s wartime defence – as explanation for his calculated restraint.
Advertisement
Hide AdAdvertisement
Hide AdThe German High Seas Fleet withdrew from the battle and returned to Germany. It had sustained some damage and lost 11 ships but had avoided being totally wiped out.
The Germans never again seriously challenged the British at sea for the remainder of the war.